Fortunately, there are tools available that can help simplify the process and improve your results. One such tool is Yoast SEO, a WordPress SEO plugin.
In this article, we will explore how to use Yoast SEO to improve your SEO efforts. We will cover the basics of using the plugin, the key features to take advantage of, and how to analyze your content for optimal results.
Yoast SEO is one of the most popular WordPress plugins available. Its main feature is helping you optimize your blog posts for SEO.
With the Yoast SEO plugin, you can easily do things like add meta descriptions, do a basic on-page SEO analysis, and create an XML sitemap to help search engines better index your website.
Yoast SEO is free, but there is also a premium upgrade that offers additional features, such as advanced content analysis, internal linking suggestions, and a redirections manager.
Now we know what Yoast SEO is, let’s take a look at how to get started with the plugin.
Installing the plugin
Installing the plugin is pretty straightforward. In your WordPress dashboard, head over to Plugins > Add new. Then search for “Yoast.”
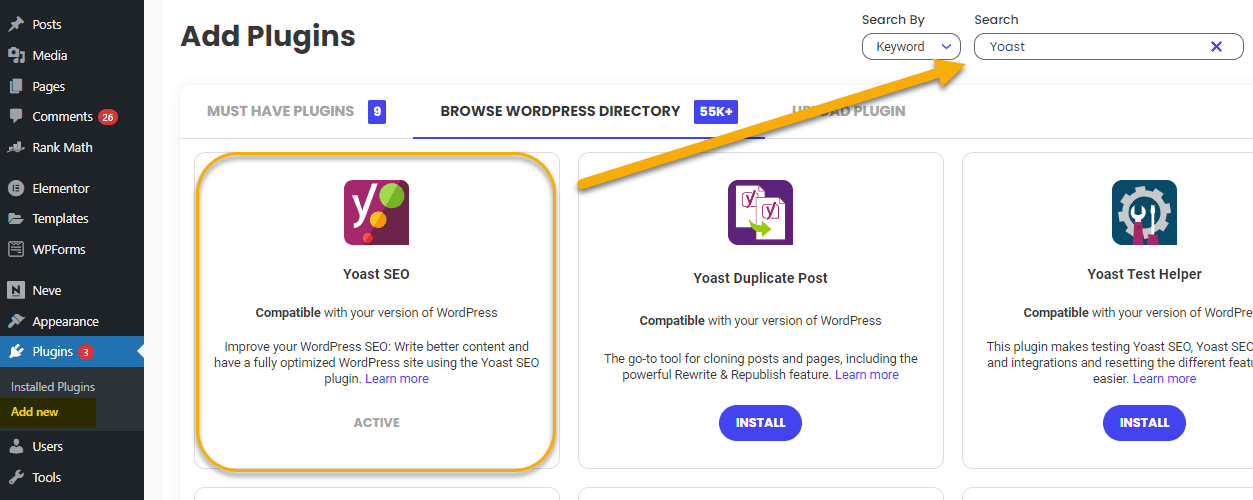
Simply click “Install” and then “Activate.” Once your plugin is active, you can get started with the first-time setup.
The first-time setup wizard will ask you for some basic information. You can fill these in and, once finished, your installation is complete.
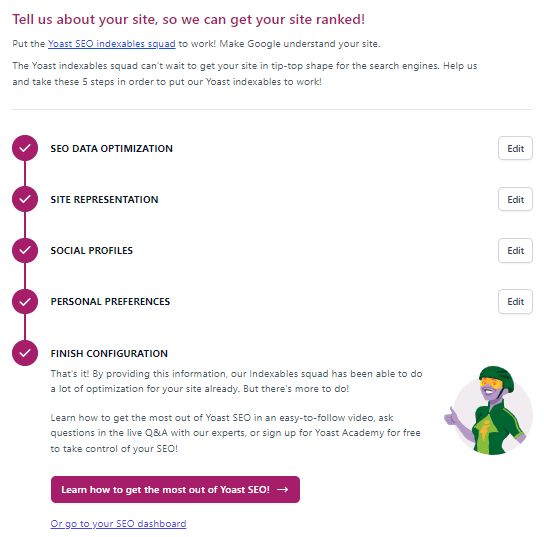
Once you’ve completed the initial setup, even if you choose to do nothing else, Yoast will have already made some changes automatically to your website, including:
- Adding a sitemap.
- Adding a robots.txt file.
- Adding basic schema.
Basic settings in Yoast SEO
Once you’ve completed the setup, it’s a good idea to head over to the settings menu. Let’s take a look at some of the noteworthy options.
General settings
The first item under general settings is the “Site features” menu. Here, you will find several different pre-set features that Yoast offers. All are automatically enabled other than “Inclusive language analysis,” so you may want to take a look and enable or disable these as you need.

The “Site basics” and “Site representation” menus will most likely already be completed from your initial setup. This is simply where you decide how you want your site branding to be displayed in search results—for example, your website name, tagline, and logo.
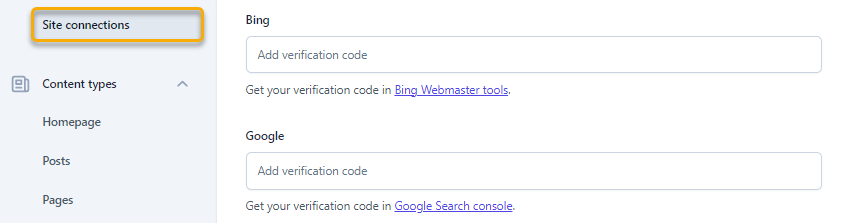
The last item in the general settings menu is “Site connections” (formally webmaster tools). This is where you can verify your site with different tools, including Bing and Google. This allows Yoast to add a verification meta tag to your homepage automatically.
Content types, categories, and tags
The next two sections of the settings menu—“Content types” and “Categories and tags”—all do pretty much the same things. They allow you to control how (and if) entire sections of your site appear in search results.
You can set different content types (pages, posts, categories, etc.) to index or noindex automatically and decide how your title tags are structured for each content type.
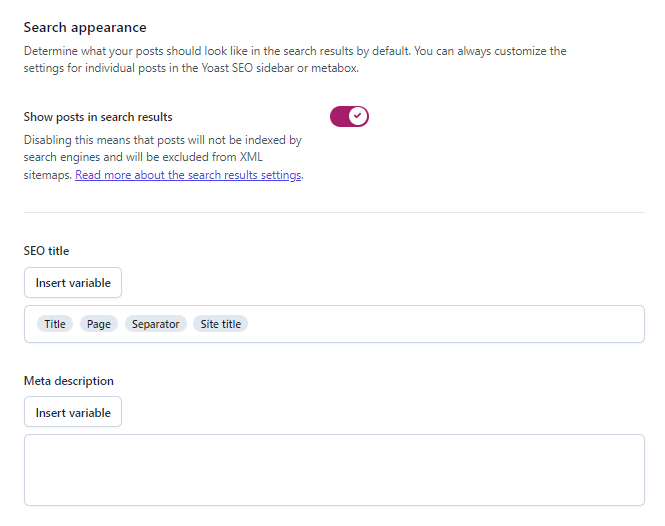
You can also set the schema type (article, FAQ, about, etc.) for different content types.
You have to be very careful with these settings, as you can automatically deindex entire sections of your site. Also, having the wrong schema markup can negatively impact your rankings on the search engine results pages (SERPs).
I would advise you to leave these settings as they are. If you do want to prevent search engines from indexing certain pages/posts or use a specific type of schema, make those changes in the individual page settings.
Advanced options
For the most part, it is best to leave the advanced options alone unless you’re a seasoned SEO. You certainly don’t want to adjust elements like “Crawl optimizations” if you don’t know what you are doing.
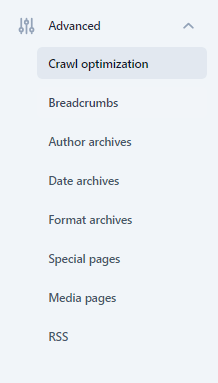
One thing I would recommend is ensuring that breadcrumbs are enabled for your theme. Breadcrumbs are a navigational element and help to make your website more accessible for both users and search engines.

Note that if you use a page builder like Elementor on your website, you may still need to use a shortcode for breadcrumbs to be visible on your pages.
OK, so now that we have covered the basics of getting started, I’m going to walk you through the key features to take advantage of when using Yoast SEO with the WordPress editor.
You can access the Yoast settings by either clicking the symbol in the top right of your WordPress editor to expand the sidebar menu or by using the “Yoast SEO” meta box at the bottom of the page.
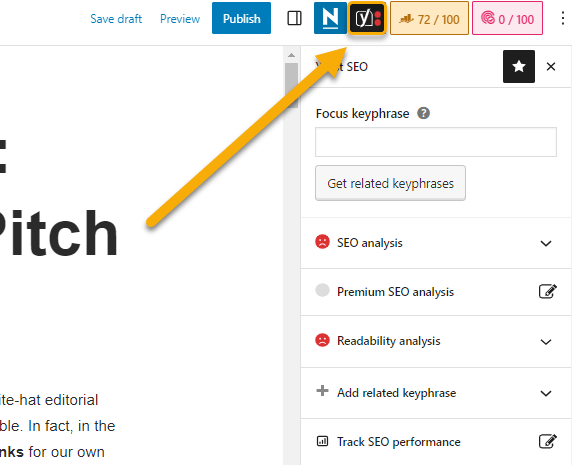
This is where you will interact with Yoast most often and can optimize and adjust the standard settings for each individual page. Let’s look at the key features and how to use them.
Focus keyphrase
The first section you need to complete is the “keyphrase” (i.e., your primary keyword). This is where you enter the keyword or phrase you want to rank for in the search results.
You can determine which keywords you want to rank for by using a tool like Ahrefs’ Keywords Explorer to do keyword research.
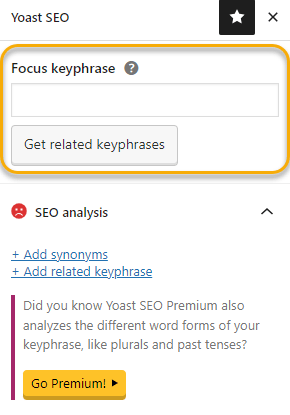
By completing this, Yoast can analyze your content to see how well optimized it is.
SEO analysis
The SEO analysis section of Yoast aims to advise you on what elements you need to include in your content to have the best chance at ranking for your chosen keyphrase.
Both the SEO and readability analysis tools work on a traffic light system. The more suggested elements you include in your content, the more likely you’ll get the green light.
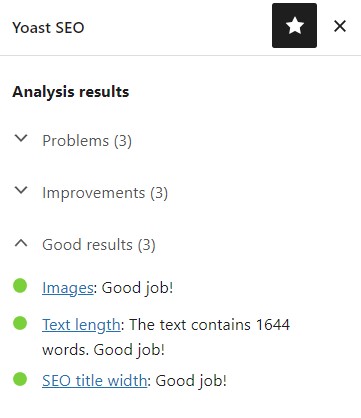
The plugin works by calculating the frequency of keyphrase usage based on the total word count and checking if the following elements include your chosen keyphrase:
- SEO title of the page
- Introductory paragraph
- Heading(s)
- The URL
- Page content
- Meta description
- Image alt tags
Another great thing about Yoast is how helpful it is. For anyone who needs a member of staff (like a VA) to upload content into WordPress, the plugin can help ensure they remember to include certain elements like meta descriptions.
If someone is new to the role, for example, having a list of things that should be included can be a great tool for training.
Readability scores
The readability analysis in Yoast SEO aims to help you ensure your content is easy to understand and get your message across to website users.
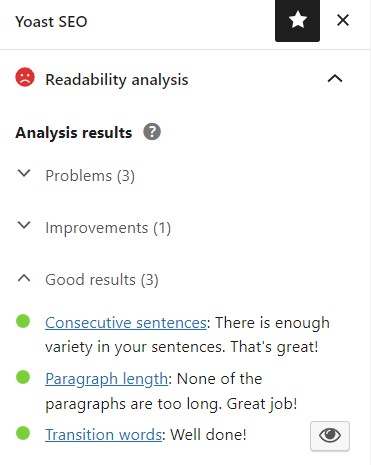
It uses Flesch Reading Ease to measure textual difficulty combined with Yoast’s own algorithm that considers elements like sentence and paragraph length and structure, use of transition words, and passive voice.
Like the SEO analysis, the readability analysis shows which elements are good and which need improvement.
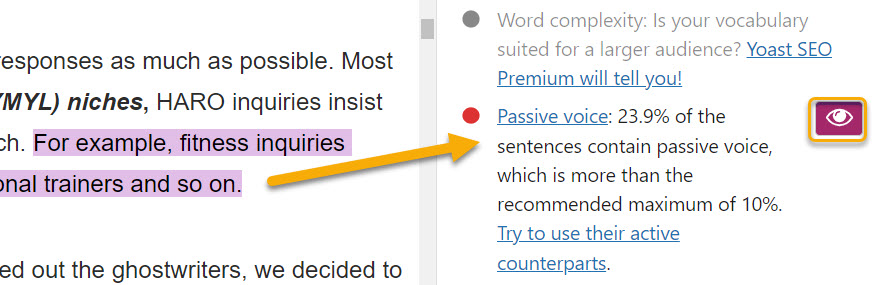
The nice thing about this section is it has a highlighter tool to clearly show where you have issues within your content.
For example, it will give you a percentage of how much of your text is affected by a particular issue. And if you click the “eye” icon on the right of that issue, it will highlight all the areas where that applies. This makes it easy for you to add changes directly in the WordPress editor.
Google preview
In the “Google preview” section, you can see how your page will appear in the search results in both mobile and desktop.
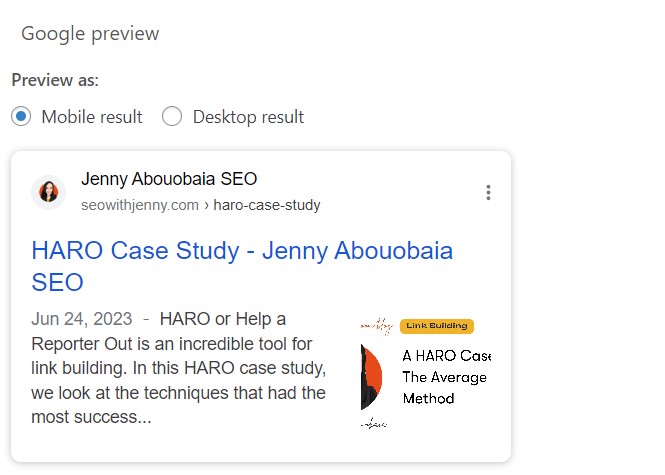
You can edit your URL slug, title tag, and meta description here, and Yoast will advise you if these elements are the right length and contain your keyphrase.
Social previews
This section allows you to see how your content will appear when shared on social platforms, including Facebook and Twitter.
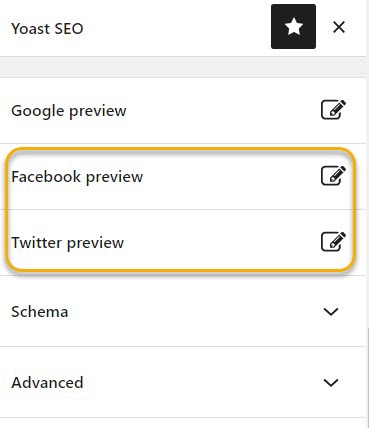
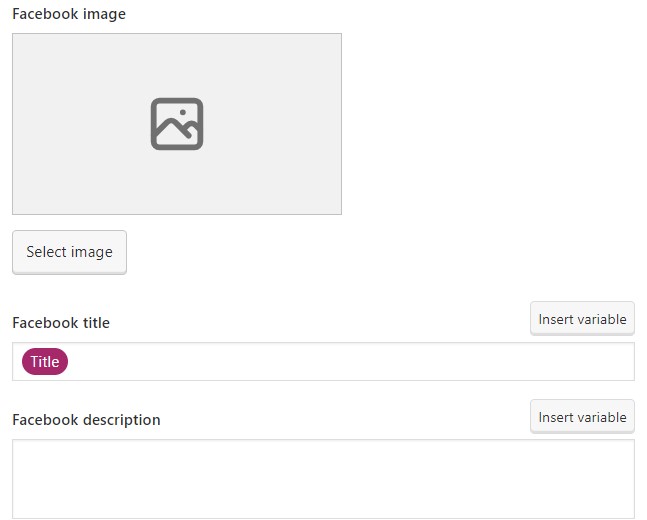
Here, you can set specific feature images, titles, and descriptions for each platform. If you leave these blank, the tool will automatically use the feature image and title from WordPress.
Note that to actually preview how these elements will appear on each social platform, you will need the Yoast SEO Premium plugin.
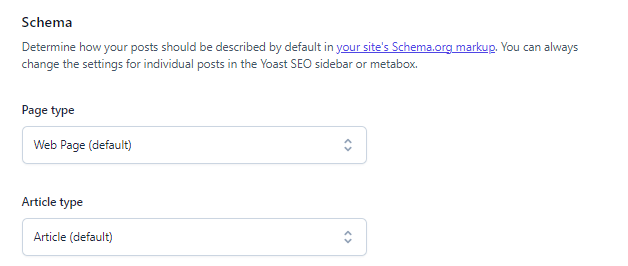
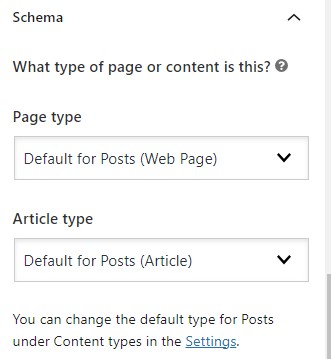
Schema
Schema markup gives search engines a better understanding of the content on your page and can help you qualify for rich results.
You can use the schema section of the Yoast plugin to help define individual pages such as:
- An FAQ page.
- About pages.
- A checkout page.
The default schema options are set to whatever you assigned in the initial setup. If you didn’t change anything from what Yoast suggests, this would be “Web Page” and “Article.” But you can change these as you need.
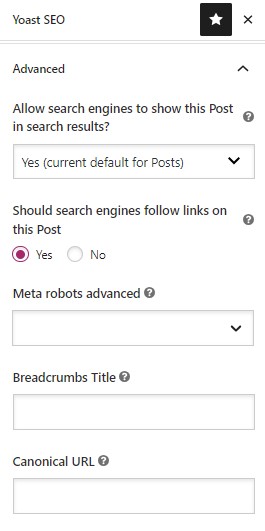
Advanced settings
There are a number of different things you can do with the advanced options, including:
- Prevent the page from being indexed by search engines.
- Stop search engines from following links on the page.
- Add a canonical URL for the page.
- Use advanced meta robots parameters (noarchive, nosnippet, etc.).
- Add a breadcrumbs title.
As mentioned previously, you need to be very careful with the advanced options. For the most part, the default settings will be sufficient. If you don’t know what these settings do, then it is best not to mess with them.
By now, it’s clear the Yoast SEO plugin can improve your website’s SEO. But to get the most out of it, it’s best to combine it with some additional plugins that cover areas Yoast doesn’t.
One of the best plugins to use alongside Yoast is the Ahrefs SEO WordPress Plugin.
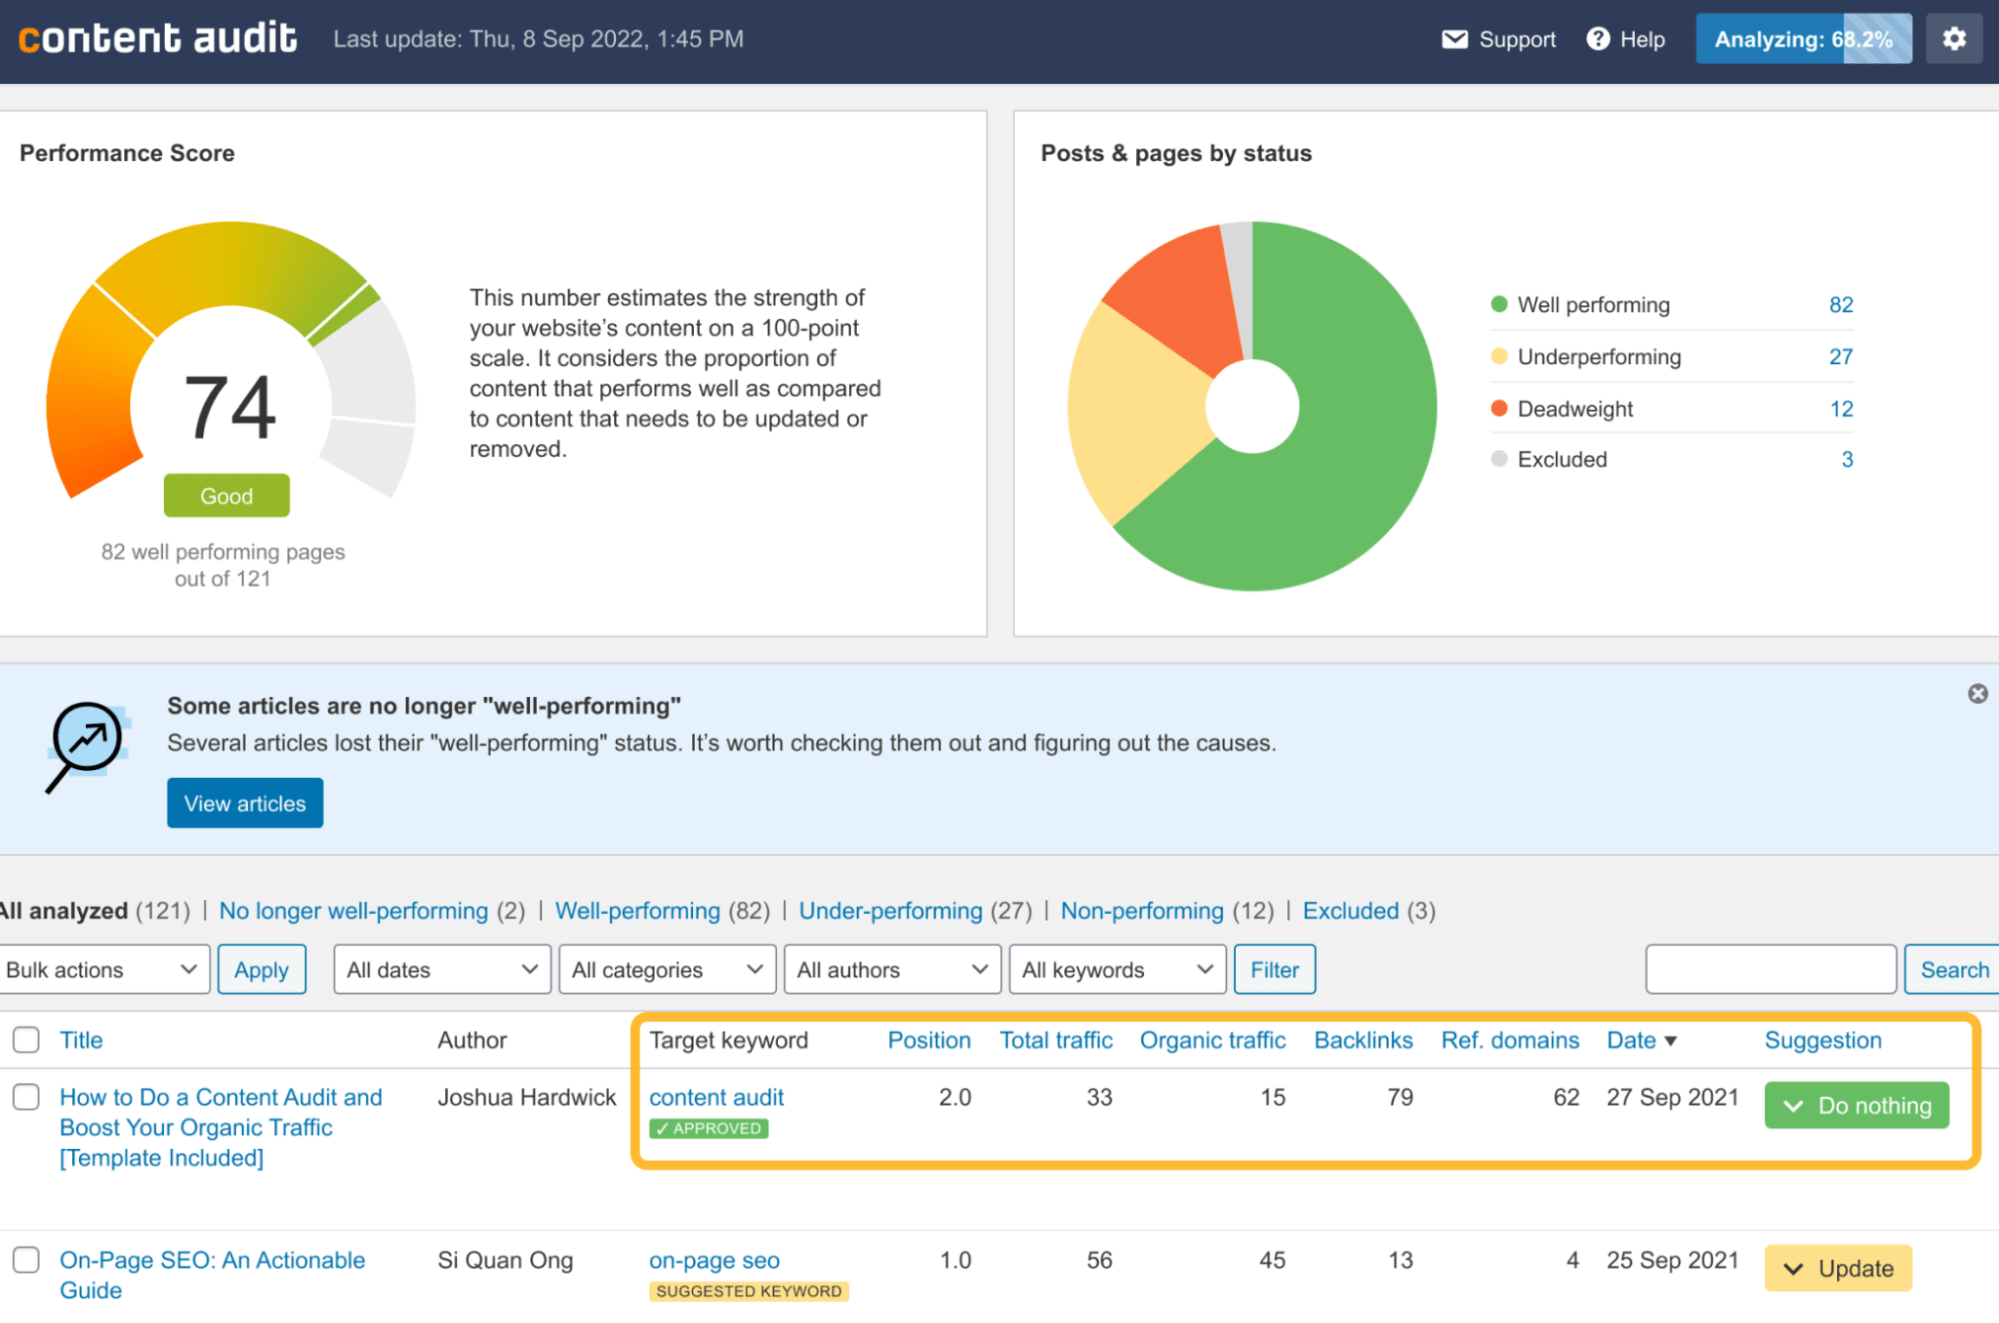
This plugin is a true time-saver because it gives you recommendations on how to improve the SEO performance for each of your pages based on automated content audits.
On top of that, it takes the keyphrases you already set in Yoast and combines them with data from Ahrefs and Google Search Console to show key SEO metrics right next to your pages.
Yoast also offers several paid plugins (each priced at $79 per year, per site). They work with the free version of Yoast SEO and are built for specific needs like:
- Yoast Local SEO
- Yoast WooCommerce SEO
- Yoast Video SEO
- Yoast News SEO
As mentioned previously, Yoast also offers a premium version with additional features to take control of your site’s SEO at a more advanced level. Here are some of the added benefits of Yoast SEO Premium:
- Ability to add synonyms and related keyphrases
- Internal linking suggestions
- Redirections manager
- 404 monitoring
- Orphaned content finder
- Free access to the Yoast SEO academy
Yoast SEO Premium costs $99 per year, per website. For me, the advanced features are a must. But if you are someone who works with multiple client sites or has a portfolio of your own, this could be an unnecessary cost.
It won’t be fair to discuss Yoast SEO without mentioning if and where it falls short (based on what I experienced).
Yoast is a great plugin for anyone who just wants help to optimize their blog. But if you want more advanced control, for me, Yoast starts to fall flat compared to other SEO plugins.
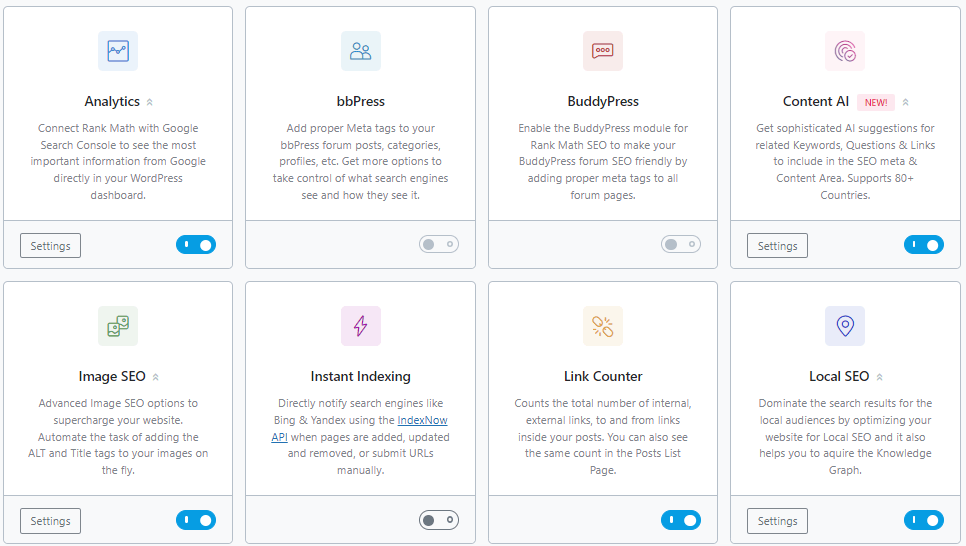
Many of the more advanced features that you can find in the free version of competing plugins like Rank Math or All In One SEO are either only available with Yoast’s premium features or are non-existent.
For example, Rank Math’s free plugin allows you to:
- Add redirections (available with Yoast Premium).
- Monitor 404 pages (available with Yoast Premium).
- Automate image SEO (automatically add alt text and image titles).
- Integrate with Google Analytics.
- Instant index.
- Use advanced webmaster tools.
- Do local SEO (only available as an additional paid plugin with Yoast SEO).
- Work on WooCommerce SEO (only available as an additional paid plugin with Yoast SEO).
If you only need some basic SEO help on your personal blog or business site, then Yoast works great. But if you need an SEO plugin for multiple sites and you want advanced features, this can start to get costly. If so, it may be time to consider a different option.
Final thoughts
Yoast SEO is an excellent tool for improving your website’s SEO. It can help you analyze your content and make sure your blog posts are optimized for search engines.
The premium upgrade has some excellent features to take your SEO efforts to the next level. However, it is important to note that Yoast is not a one-stop shop for all of your SEO needs. There are still other plugins and techniques that should be used to get the most out of your website’s SEO performance.
Got questions? Ping me on Twitter.

